Homemade Pantry: Almond Milk

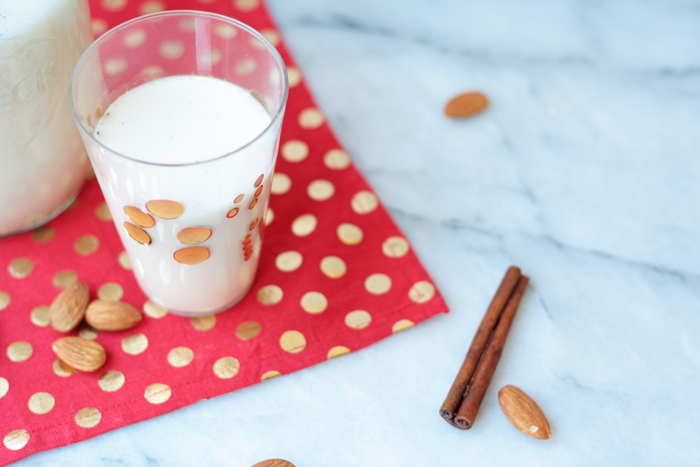
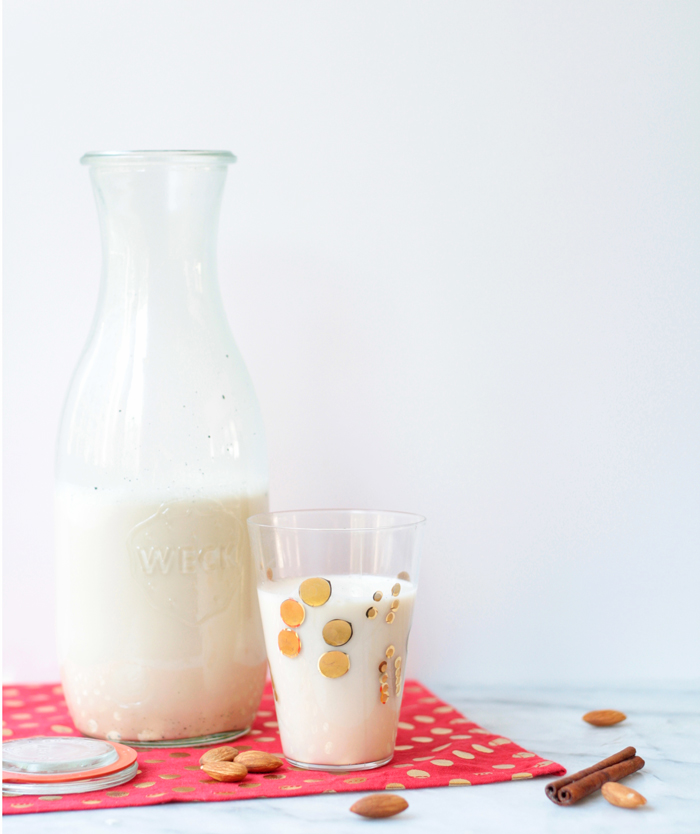
homemadealmondmilkglass

Good Morning from Tokyo!
Or more accurately, from Hikari 509, a shinkansen (awesome fast train)
somewhere between Tokyo and Kyoto.

I must admit I had grand plans to write so many blog posts on the 13 hour flight here, but no sooner did I hit the airport (or the airport bar) OR spend 2+ hours sitting on the tarmac being gently lulled to sleep by jet fumes did all those grandiose plans go right out the window.

So we’re going to keep it short and sweet (well as sweet as you like your almond milk) this morning, and get right to a simple and delicious way to make your own nut milks at home. It’s cheaper and tastier than the store bought stuff, takes only a few minutes to make, and requires only two ingredients! Although I usually toss in a few dates, a little vanilla and a pinch of salt as well.

homemadealmondmilkjug

Almond Milk
Author: 
 
Creamy & delicious, you can make this almond milk with as few as two ingredients!
Ingredients
  • 1 cup almonds
  • 3-4 cups filtered water
  • additional water for soaking
  • 3 dates optional
  • 1” vanilla bean scraped or 1 teaspoon vanilla optional
  • pinch of salt
Instructions
  1. Soak almonds in a bowl just covered with filtered water for 12-24 hours.
  2. Rinse almonds then toss in blender with 3-4 cups water and dates if desired.
  3. Blend 1 minute on low, then 2 minutes on high speed.
  4. Pour mixture into a nut milk bag and strain out almond pulp OR pour through strainer/cheese cloth until no solids remain.
  5. Rinse out blender then pour newly strained milk back into blender, add salt, and if desired, vanilla, and blend.
Notes
For extra thick/creamy almond milk, soak the almonds for closer to 24 hours and use only 3 cups water when blending. In a "hurry" though, almonds that have soaked overnight will do just fine!
Store your almond milk in a mason jar or other sealed container in your refrigerator for about 5 days.

 
ps. Check out the view from my window:

Fujisan

pps. Come follow my adventures in Japan on instagram!
ppps. Do you frequently fly for work? How do you get anything done on the plane?
I only seem to be good at reading books and drinking beer!

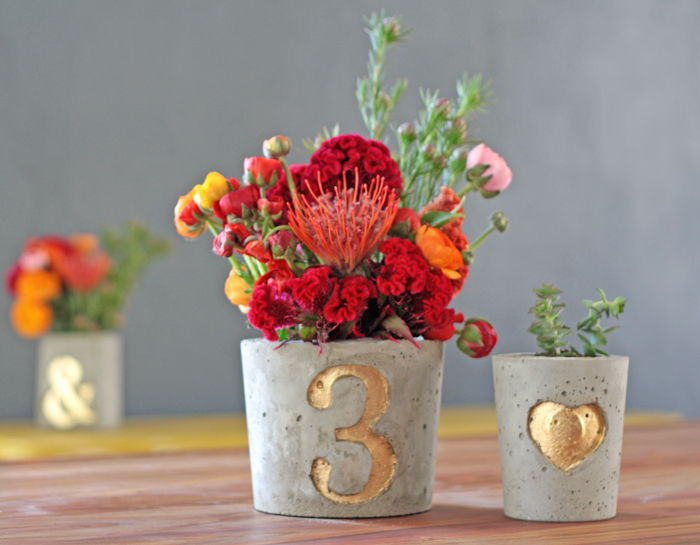
DIY: Concrete + Gold Centerpiece Ideas

diy concrete container

Hello hello!
And happy Monday afternoon!
Fun fact, it’s Tuesday morning here.
Wild huh? Time travel and DIY for the win!

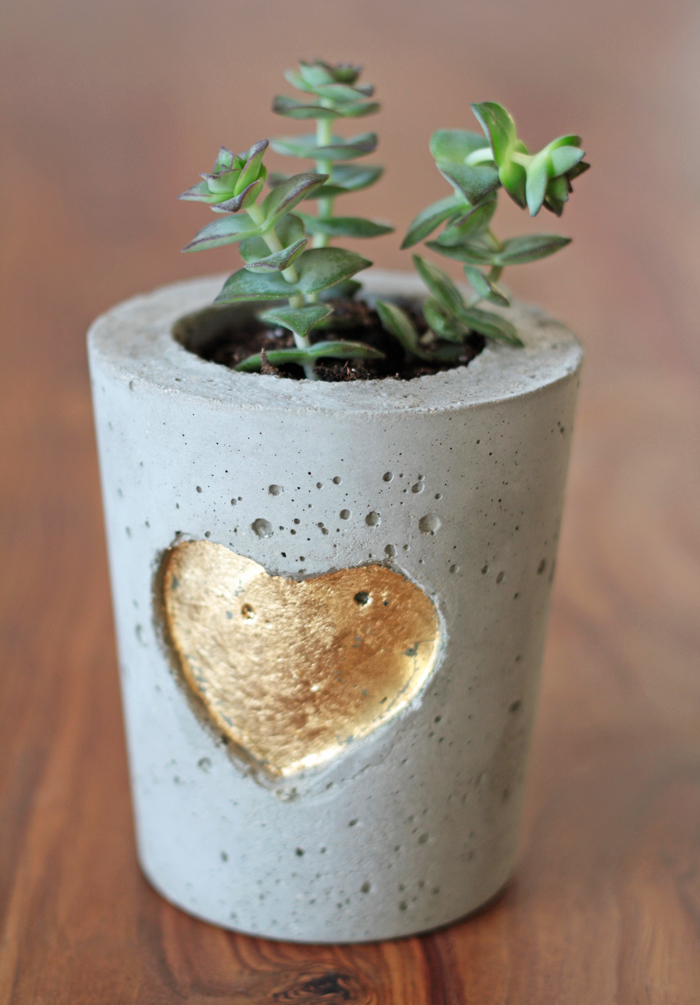
diy concrete planter

Although I probably should tip my hat to jet lag for the early morning motivation over here…

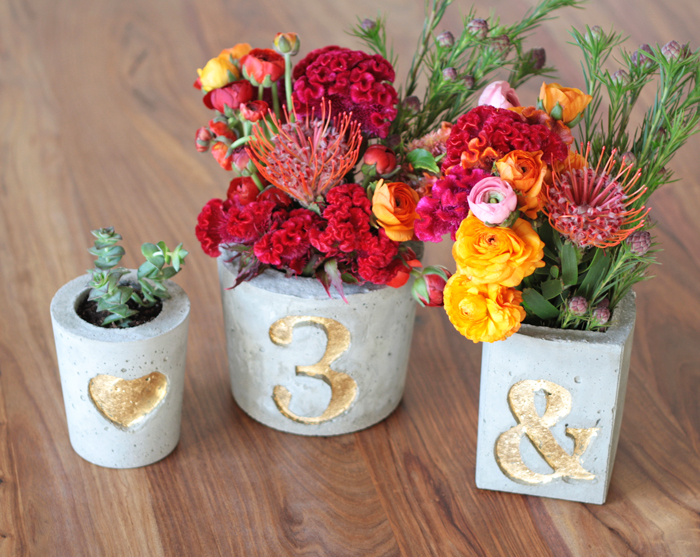
concrete diy

I made these hefty little containers for my new column (eeee!) over at Broke-Ass Bride, where I am going to be living vicariously through (and hopefully inspiring) crafty brides everywhere to get their hands dirty with some DIY.
Exciting stuff.

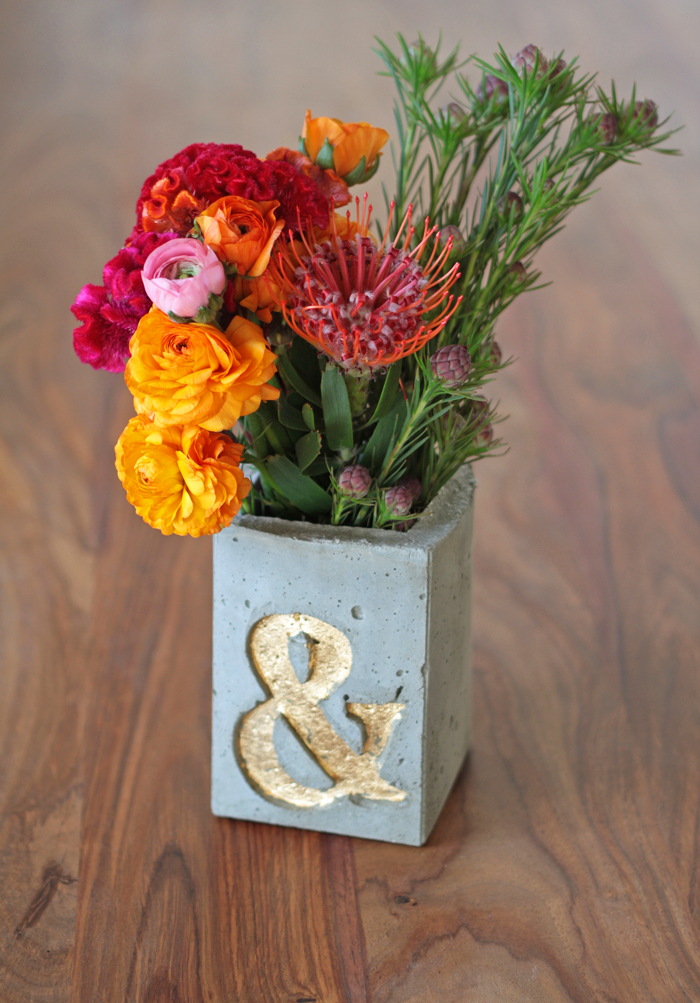
concreteandgoldleafampersand

Whether you’re a bride-to-be, a craft junkie, or an admirer of all things industrial (and over priced these days) these little containers pack a real punch. So get ready to get your rocks off (I just couldn’t help myself) and go check out the full post on Broke-Ass Bride for all the (super easy) instructions and just a little sass. And if you’ve just landed here from BAB, a hearty welcome all the way from Japan!


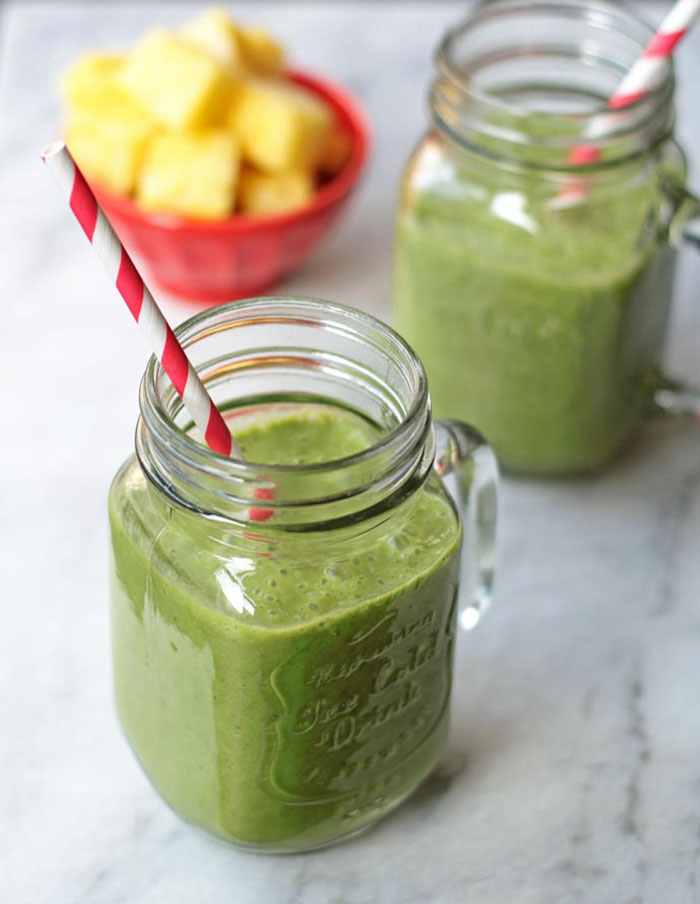
Greens, Pineapple and Mint Smoothie

breakfast smoothie

“I don’t want to belong to any club that will accept me as a member.” –Groucho Marx

Hello everyone, my name is Tabitha and I live in Los Angeles.
Hello Tabitha…

In other words, jackpot!

I’m pretty sure this recipe is the golden ticket for hesitant Angelenos like myself to officially join the club.
Not to mention I’ve been here for ten years already.
Now how did that happen?

While I can’t easily explain where ten years went (the hallmark of getting old?!)
I can pinpoint the birth of my love of green juice. And I can blame a New Yorker!

See, whenever my friend would come to town and we’d style commercials together,
she’d insist on lots of healthy juices and luxury health snacks.
Yes, I use the word luxury to describe an eight dollar juice.
Another word would be insanely ridiculous.
Oops, that’s two words.
Choose your own adventure!

Commercial styling is no joke, so the fact that you can turn in receipts for multiple juice fixes a day is definitely a redeeming factor. Oh, and the paycheck. Honesty folks, it’s what’s for breakfast.
And green juice.

But even with my love of green juice, I’d stayed away from smoothies for the longest time.
They just seemed like fruit & ice masquerading as a milkshake, and for $8, I didn’t want any impostors. (or any ice!)

Then I discovered the secret to a great smoothie: frozen bananas.

I should have known, since frozen bananas in the food processor make the best single ingredient sorbet ever! Silly Me! Anyhow, they keep everything nice and cold sans ice, and make your smoothie incredibly creamy.
I quickly moved on to frozen pineapple, and BAM! New favorite breakfast smoothie.

Now I just peel, chop and freeze 6 or 7 ripe bananas and a pineapple every week,
and then these smoothies take no time at all to throw together.
Maybe 2 minutes.

So whether you want to save a buck, or you’ve just been hesitant to say yes please to bunch of kale in your morning milkshake, you should give this recipe a try!

The banana and pineapple are a sweet combo, and the mint is so refreshing that before you know it (or taste it) you’ll have downed an entire cup (or two!) of greens.

It’s quicker, cheaper, and healthier than a cup of coffee,
and seems like dessert for breakfast.
Enjoy!

Greens, Pineapple and Mint Smoothie
Serves: 2
 
This is my favorite breakfast smoothie! The banana and pineapple are a sweet combo, and the kick of mint is so refreshing that before you know it (or taste it) you’ll have downed an entire cup (or two!) of greens.
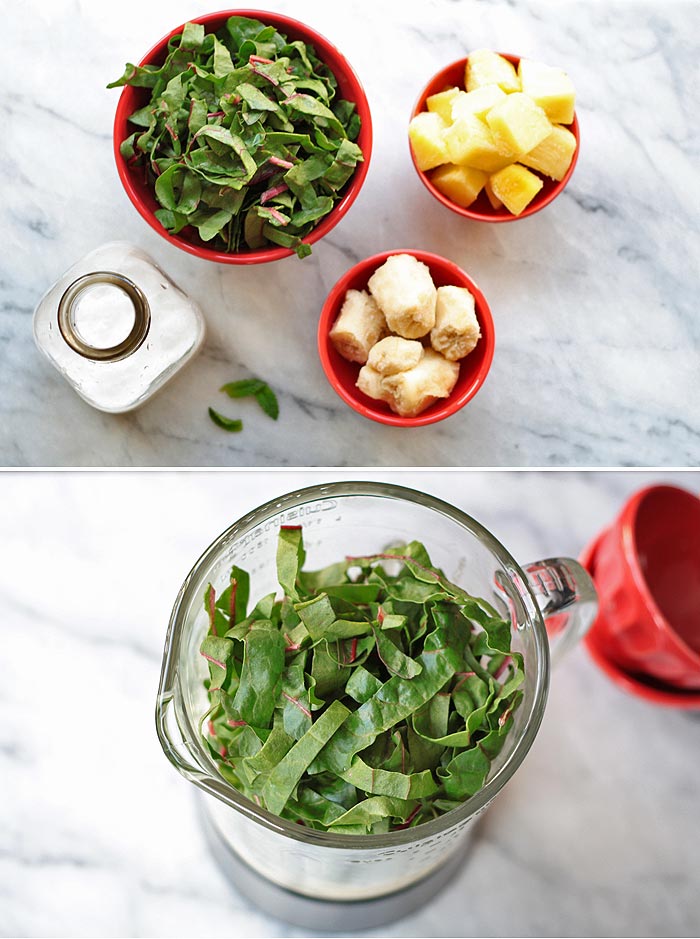
Ingredients
  • 1 cup frozen banana (1 banana)
  • 1 cup frozen pineapple
  • 2 cups kale or other leafy green
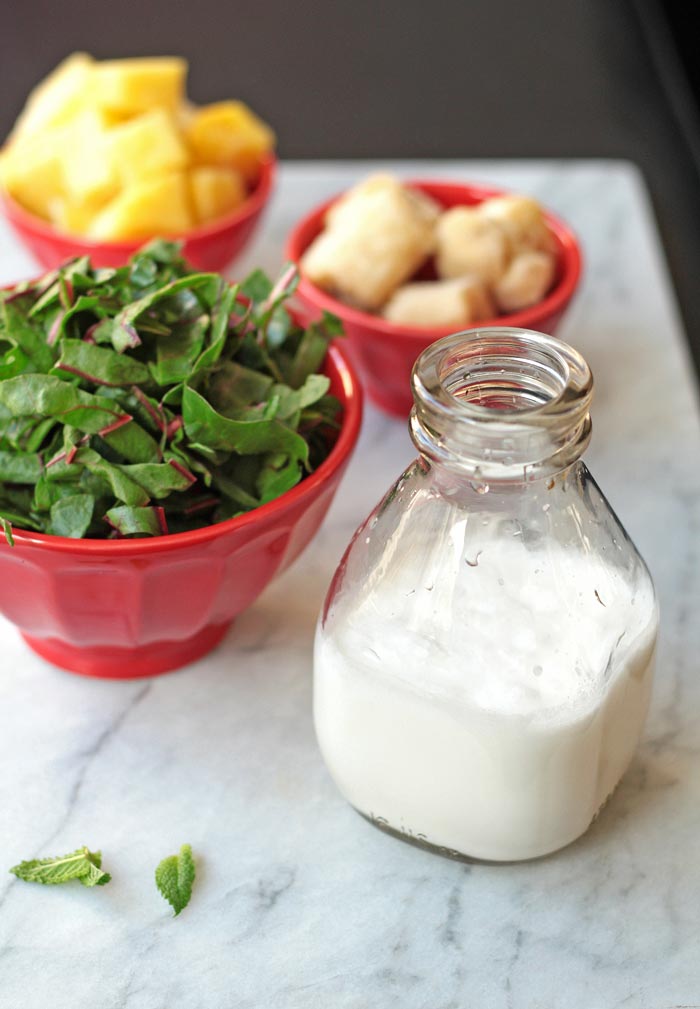
  • 1- 1.5 cup almond milk
  • mint leaves to taste (4-5)
Instructions
  1. Add banana, pineapple, mint and almond milk to blender and blend on high until creamy. Add more almond milk if necessary.
  2. Add greens to blender and use a spoon to shove them down into the smoothie.
  3. Then blend until they are fully incorporated.
Notes
You don't need a fancy blender to make this delicious smoothie!